

The block walls were sheetrocked on a grid of 2" x 2"s on 16" centers and stuffed with R 71/2 fiberglass insulation. The ceiling had R18 installed. Those 2" x 2"s on the inside of the block walls made it easy to install wiring. It was not necessary to chisel out the blocks for receptacle housings.
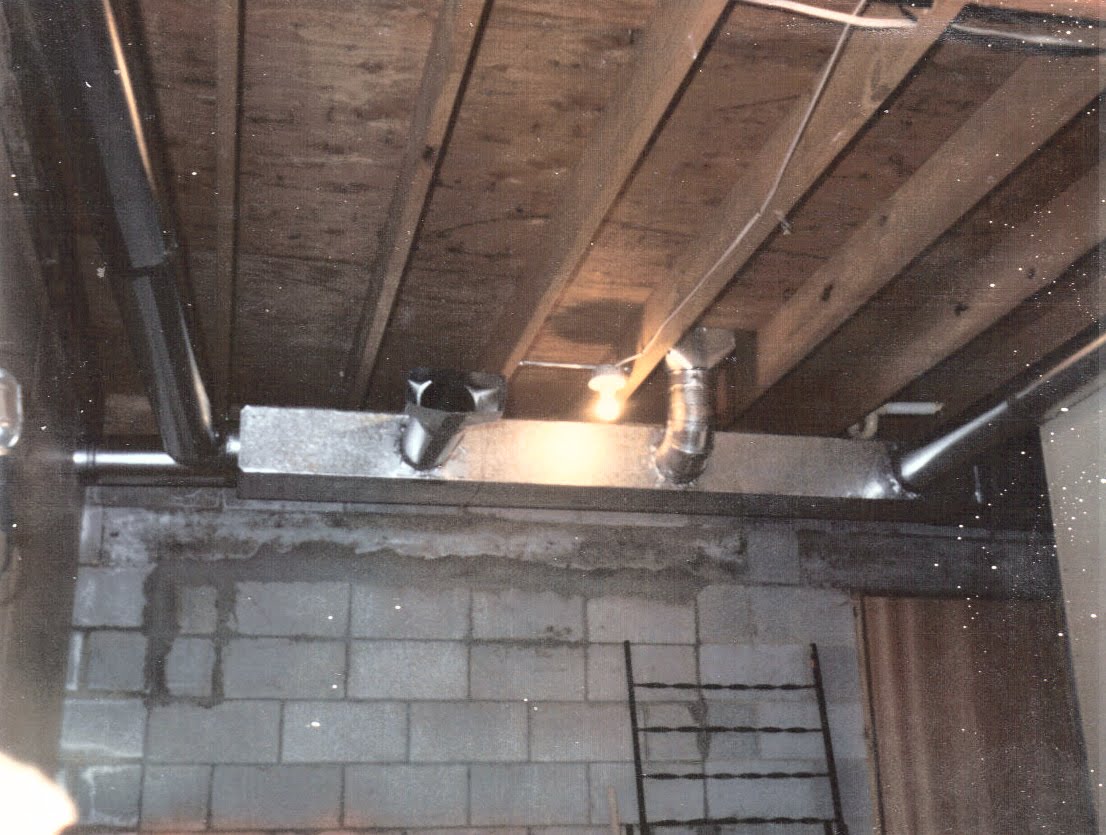
With power and heat available, the ducting system for the furnace is installed. Below shows the ducting above the utility room.
The below photo is of the 3/4 downstairs bath. The finished floor is of 6"x 6" quarry tile and the cabinets and countertop are all hand made. I had the tools by now, and the finished stuff was too expensive. You can barely see the edge of the shower on the right. The walls of the bathroom were plastered using Structolite. The stuff is really neat for interior walls and looks great. Its lightweight and dries fast. This - of course - means I now had plastering tools and had learned to use them.
This was the first room to be finished.

It was springtime by now, and my construction time was being seriously compromised with the activities of chasing down my future wife. Inconvenient, but after all, she was why I was building the place.
No comments:
Post a Comment